Enhancing Revit by using Enscape’s Custom Assets as a bridge to and from Blender (and many other modeling programs)
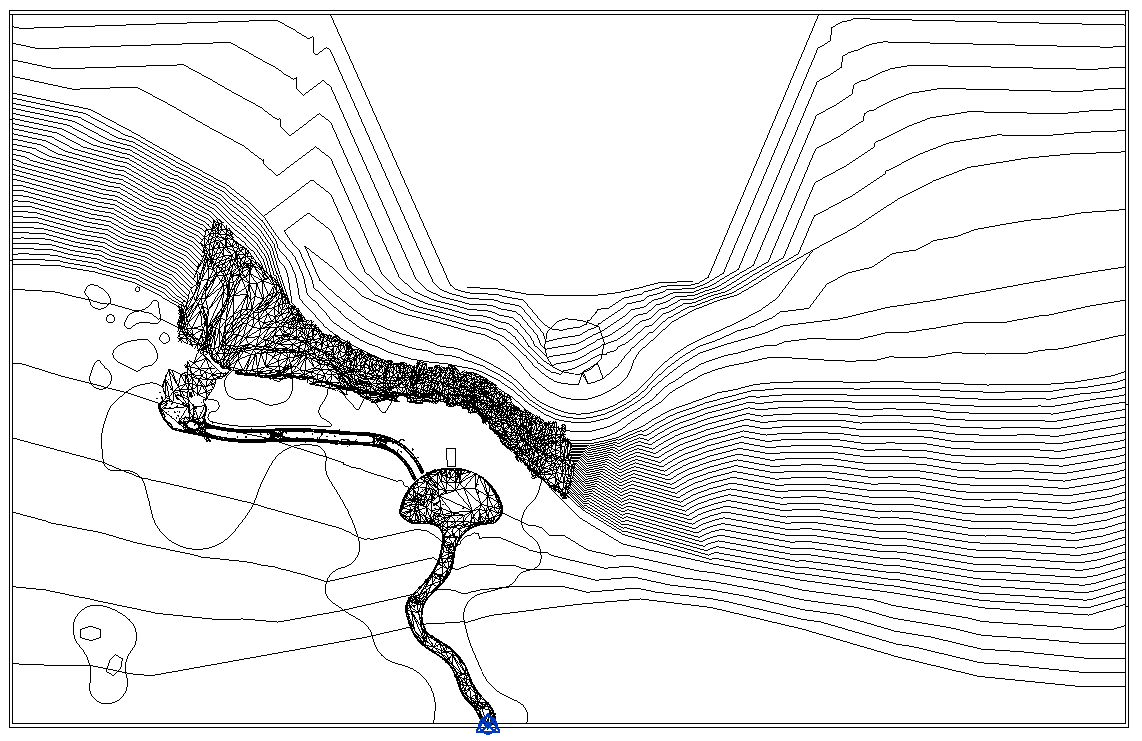
In our first of many posts to come we start with Revit's Topography tools simply not cutting it when it came to the depth and breadth of storytelling we were attempting. We needed a way to show worn out and bumpy paths with loads of personality and background while setting a rocky cliff in the background to juxtapose scale and harshness. Enter Enscape and Custom Assets.
Step 1:
Open a 3D view in Revit. Ensure that the Revit base point is within the area you have cropped. We will use that base point to realign the Enscape Asset later. Export this new Revit view as an FBX.
3D View in Revit Cropped for Export
Step 2:
Import FBX into Blender. You will notice the Revit origin is maintained.
Revit’s View Imported into Blender
Step 3:
Create any assets needed to enhance the Revit project using the FBX we imported as a reference. For this we focused on the paths and cliff side.
Isolating Blender Geometry for Export
Step 4:
Once finished (You can always come back and update as needed) select only the elements you would like to use as a custom asset in Enscape.
Isolating Blender Geometry for Export
Step 5:
In Blender Export as gLTF Separate (Only selected). In our experience this file type performs much better than OBJ or FBX and has a few tricks we can use for gradients, animated textures, and web explorables.
Blender gLTF Export Settings
Step 6:
Open Revit and launch the Enscape Asset Library. Navigate to the Custom Asset Tab and Create/Add a new asset. Here you will import the gLTF file we exported from Blender and tweak the materials and textures as needed. Once you are satisfied “Save Changes and Export”. This will save the asset to the Custom Asset Library in Enscape.
Creating Custom Asset in Revit/Enscape
Step 7:
Place the new Custom Asset in a Revit plan view with the project base point visible. The Enscape asset will maintain the original origin and allow you to click/snap to the project base point in Revit. The result is 1 to 1 alignment between Revit and Blender.
Placing Asset with Project Base Point
Step 8:
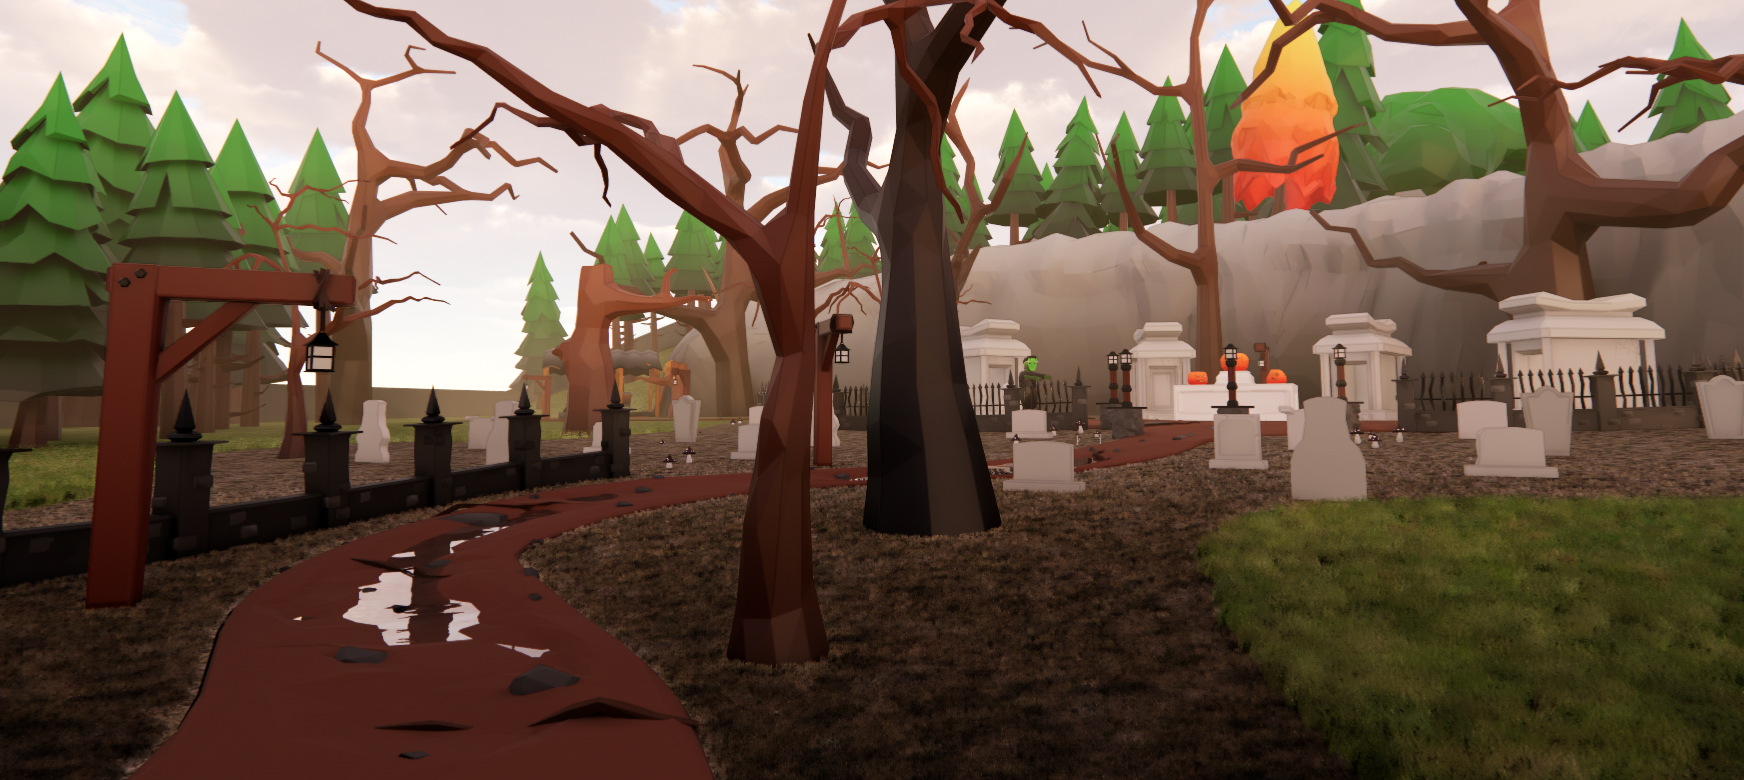
Rinse and Repeat as necessary until you arrive at the final scene.
Final Halloween Scene
Other use case scenarios:
Leverage custom adjustments from other modeling software's.
Build out unique objects or adjustments that aren't easily created within Revit.
Enable other team members outside of Revit to scale your visual storytelling.
If you would like to see how ReadThomas used this workflow to create our Halloween showcase this year, both the EXE (self contained Enscape file) and the Custom Enscape assets are located in link above.
If we can help your team with Enscape or Revit please send a message to hello@readthomas.com!


